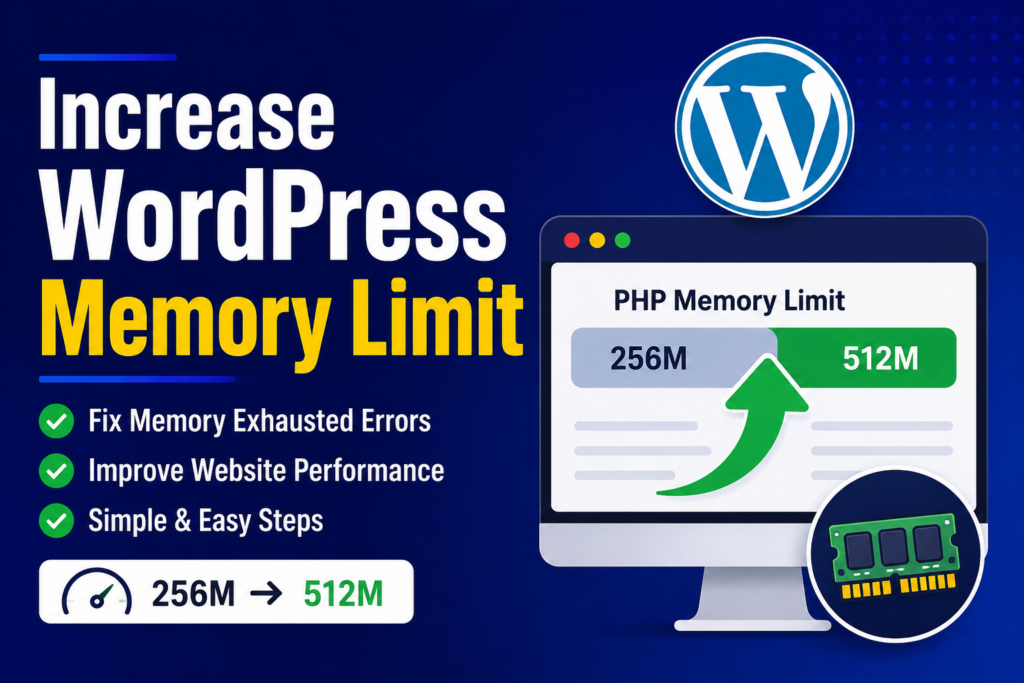

If your WordPress website displays the “Allowed Memory Size Exhausted” error, shows a white screen, or plugins stop working unexpectedly, your website may have reached its WordPress Memory Limit.
Fortunately, increasing the memory limit is simple and usually takes only a few minutes. In this guide, you’ll learn how to check the WordPress memory limit, how to increase it, and the best methods to resolve common memory-related issues.
What is the WordPress Memory Limit?
The WordPress Memory Limit is the maximum amount of server memory that WordPress can use while executing PHP scripts.
Every website uses memory to load plugins, themes, images, page builders, and WooCommerce functions. If your website exceeds the available memory, WordPress may stop working correctly.
A higher PHP Memory Limit for WordPress helps improve website stability and prevents memory-related errors.
Recommended Memory Limits
| Website Type | Recommended Memory Limit |
|---|---|
| Personal Blog | 128M |
| Business Website | 256M |
| WooCommerce Store | 256M–512M |
| Large Membership Website | 512M |
How to Check WordPress Memory Limit
Before increasing the memory limit, you should first check your current configuration.
Method 1: Using WordPress Site Health (Recommended)
- Login to WordPress Dashboard.
- Navigate to:
Tools → Site Health → Info → Server
- Locate:
PHP Memory Limit
This displays the current memory limit configured by your hosting provider.
Method 2: Using a Plugin
You can also install one of these free plugins:
- Query Monitor
- WP Server Info
Both plugins display your current PHP configuration, including the memory limit.
How to Increase WordPress Memory Limit
There are several methods to increase the PHP Memory Limit in WordPress. Choose the one supported by your hosting provider.
Method 1: Edit wp-config.php
This is the easiest and most commonly used method.
Open the wp-config.php file located in your WordPress root directory.
Find:
/* That's all, stop editing! Happy publishing. */Add the following code just above it:
define('WP_MEMORY_LIMIT', '256M');
define('WP_MAX_MEMORY_LIMIT', '512M');
Save the file.
This increases the standard WordPress memory limit to 256M and the admin memory limit to 512M.
Method 2: Edit php.ini
If your hosting allows custom PHP configuration, open the php.ini file and update:
memory_limit = 512MSave the file.
Some hosting providers may require restarting PHP services before the changes take effect.
Method 3: Edit .htaccess
If your website runs on an Apache server, add the following line to your .htaccess file:
php_value memory_limit 512MIf your website returns an Internal Server Error after adding this line, simply remove it because not all hosting providers allow PHP values inside the .htaccess file.
Method 4: Increase Memory Limit from Hosting Panel
Most modern hosting providers allow changing PHP settings without editing files.
For example:
- Login to your hosting control panel.
- Open your website management section.
- Navigate to PHP Configuration or PHP Settings.
- Find memory_limit.
- Change it to:
- 256M
- 512M
- Save the changes.
This is often the safest method for beginners.
Common WordPress Memory Limit Errors
If your website runs out of memory, you may encounter errors such as:
Allowed Memory Size Exhausted
Example:
Fatal error: Allowed memory size exhausted...This is the most common WordPress Memory Exhausted Error and usually indicates that PHP needs more memory.
White Screen of Death
Your website may display a completely blank page when WordPress runs out of available memory.
Plugin Installation Failed
Large plugins or updates may fail if the available memory is too low.
Theme Builder Crashes
Page builders like Elementor, Divi, and WPBakery may stop loading or freeze during editing.
Tips for Better WordPress Performance Optimization
Increasing memory is helpful, but it’s not the only way to improve performance.
For a faster and more stable website:
- Remove unused plugins.
- Keep WordPress updated.
- Use a lightweight theme.
- Enable caching.
- Optimize images.
- Upgrade your hosting if needed.
These practices improve overall WordPress Performance Optimization and reduce memory usage.
Frequently Asked Questions (FAQ)
What is the recommended WordPress memory limit?
For most websites, 256M is sufficient.
WooCommerce stores and websites with many plugins should consider 512M.
Does increasing the memory limit make my website faster?
Not directly.
It prevents memory-related crashes and allows WordPress to process larger tasks more efficiently.
Why didn’t my memory limit change?
Some hosting providers enforce server-level limits.
If the changes don’t apply, contact your hosting provider and request a higher PHP memory limit.
Is 512M safe?
Yes.
Most modern hosting providers support PHP Memory Limit 512M, especially for WooCommerce, LMS, and membership websites.
Related Articles
If you’re troubleshooting WordPress errors, you may also find these guides helpful:
- How to Fix White Screen of Death in WordPress
- How to Fix Error Establishing a Database Connection
- How to Fix 500 Internal Server Error
Tip: Add internal links to these articles on your website to improve SEO, increase page views, and help readers find related solutions.
Final Thoughts
Knowing how to check and increase the WordPress memory limit is an essential skill for every WordPress website owner. Whether you’re running a personal blog, business website, or WooCommerce store, increasing the PHP Memory Limit can help resolve errors like “Allowed Memory Size Exhausted”, improve stability, and ensure your website runs smoothly.
Always back up your website before making changes to configuration files. If you’re unsure which method to use, start with your hosting panel or consult your hosting provider for assistance.